➡️➡️Please export your blog by January 10th
You’ve worked so hard over the past semester – don’t let that content just disappear!
After our class ends, we’ll start work updating the site for next time This means eventually your student blogs will be deleted from the course site. But we don’t want you to lose all your great work. Luckily for us the site software we use – WordPress – makes it super simple to gather all your content, export it and then import it to a new WordPress blog at your own new WordPress account.
PLEASE move your content by January 10th. This is especially important if you want to use your blog content in your e-portfolio.
Follow these steps:
Your Toolbox
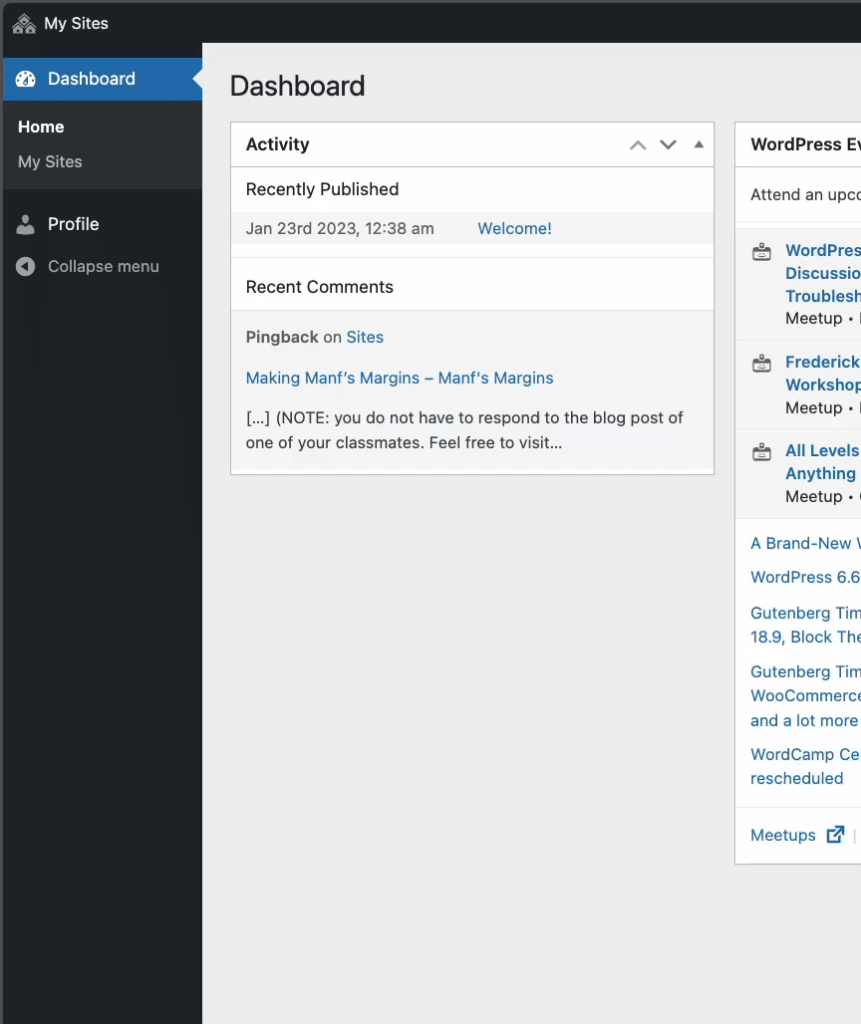
In your blog Dashboard, scroll down a bit until you see the “Tools” section on the left-hand side. Click on this to expand your options and you’ll now see “Import” and “Export” listed. Go ahead and click on “Export.”
Exporting for Future Use
It’s pretty simple: just click “Export All Content.”
Bam! You’ve got an Archived Copy of your Blog
Told you it was simple 🙂 Keep this file in a safe place. It’s what you’ll need later on.
Time to Import
Register at WordPress, use your own server-side installation, or other blogging software site that supports a WP import.
For WordPress.com: Once you’re all set with your account and blog, login and go to “Tools” and “Import” in your new blog. Then, choose “WordPress” at the bottom of the options.
Still have that File?
Browse to that archived file of your old blog and then choose “Upload file and import.” Once you’ve done this you’ll have all your content back up and ready! NOTE: This isn’t an exact replica of your old site. It is your content (posts, pages, links, media uploads) but not your theme (the fancy design). You’ll have to either choose the same theme again or select a new one.
UPDATE from Bob Lucore, our school’s Technology Support Consultant:
Bob also says it might be an idea to create a new blog on the Community Site:


Thanks, Dr. Stephens. This is super helpful since I will use my sight in my e-portfolio next semester.
I am planning to as well!
Thank you for the tip, Professor!!!
@migueleruiz29 @jcrystalc hurrah! I wish you the very best with the portfolio. Advisors are randomly assigned for the portfolio project. It would be very cool to see you both in my section next semester.